
Replacing a screen on a tablet can be an intimidating task if you’ve never done it before. However, with the right guidance and preparation, you can perform this repair confidently. This guide will walk you through the necessary steps to get your tablet back in working order.
Introduction
Tablet screens are prone to getting scratched or cracked due to daily use and accidents. When this happens, replacing the screen becomes essential to maintain the device’s functionality. This guide offers a comprehensive walk-through of the screen replacement process, providing you with all the details you need to execute a successful DIY repair.

Understanding Your Tablet Model
Identifying your tablet’s make and model is a crucial first step before any repair. This information, typically found on the back of the device or within the settings, ensures you purchase the correct replacement screen and follow the proper disassembly process specific to your model. Knowing your device inside and out helps streamline the repair job and prevents common pitfalls.

Tools and Materials Needed
Before you begin, assemble the necessary tools and materials to facilitate a smooth repair process:
– Replacement screen designed for your specific tablet model
– Precision screwdriver set
– Plastic opening tools or a spudger
– Tweezers
– Screen-safe adhesive strips or glue
– Safety goggles
– Anti-static wrist strap
These tools will not only make the task easier but also ensure that your device doesn’t suffer any further damage during the repair.
Preparing for Screen Replacement
Proper preparation is key to a successful screen replacement. Choose a clean, well-lit area to set up your workspace, and use a soft cloth to protect your tablet from scratches during the process. Organize your tools and wear safety goggles along with an anti-static wrist strap to safeguard both yourself and the tablet from static electricity. With a clean workspace and tools ready, you’re well-prepared to start the disassembly.
Steps to Remove the Damaged Screen
Careful removal of the damaged screen is one of the most important parts of the replacement process. Follow these steps meticulously:
1. Power off your tablet completely and disconnect any attached accessories.
2. Use a plastic opening tool to carefully pry the back cover away from the tablet. Patience is essential here to avoid causing any damage.
3. Locate and gently unscrew the battery and any connected cables using your precision screwdriver. Carefully disconnect the flex cables that attach the screen to the motherboard, taking note of their original positions for accurate reassembly later.
Installing the New Screen
With the old screen removed, your next task is to install the new one carefully:
1. Place the new screen into position, ensuring it is perfectly aligned with the device’s frame.
2. Reattach all flex cables securely, ensuring they are connected correctly as originally configured.
3. Secure the back cover using appropriate screws or clips, making sure it is tightly sealed to prevent dust and moisture ingress.
Testing and Calibration
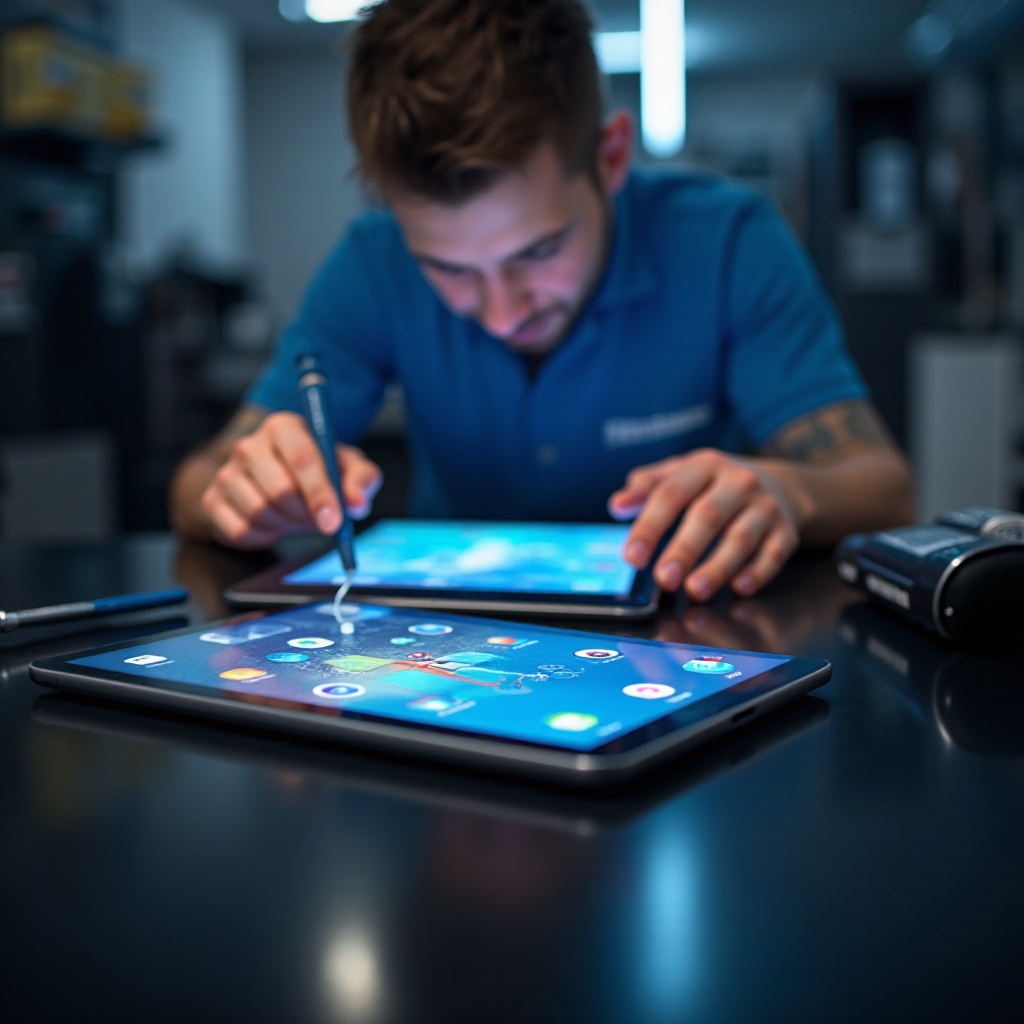
After installation, it’s time to test the new screen. Power on your tablet to inspect the display quality and touch responsiveness. Access calibration tools in the settings if necessary to adjust for any misalignment or sensitivity issues. Confirm all functionalities are working as intended.
Troubleshooting Common Issues
Sometimes, despite careful installation, issues might arise. Here’s how to tackle common problems:
– If the display remains blank, double-check and secure all connections; loose or improperly connected cables can cause this issue.
– For touch responsiveness issues, perform a hard reset or revisit the screen calibration settings to ensure everything is properly set. Check again if any connectors were missed or poorly attached.
Conclusion
Successfully replacing a tablet screen requires patience, careful attention to detail, and the right set of tools. This DIY method not only saves money but also builds your confidence in handling tech repairs. By following these steps, you bring new life to your cherished gadget and extend its usability.
Frequently Asked Questions
Is it worth replacing a tablet screen?
Replacing a tablet screen is often more cost-effective than buying a new device, especially for high-end models, as it restores the usability of the device you rely on.
How long does it take to replace a tablet screen?
The time required can vary, usually ranging from 30 minutes to a few hours. It depends on your experience and the complexity of the tablet model.
Can I replace a screen on any tablet model?
Most tablet screens can be replaced, though some models are more challenging. It’s important to research your specific model for compatibility and difficulty level.