For gamers and tech enthusiasts, knowing how to take apart an Xbox One can be invaluable. Whether for cleaning, repairs, or simply curiosity, following a careful process ensures safety and success. This comprehensive guide covers the essential steps to handle your console properly, from disassembly to reassembly.
Introduction
The Xbox One, a central fixture in many gaming setups, occasionally requires maintenance to ensure optimal performance. Disassembling your Xbox One might seem daunting, but with clear guidance, you can resolve hardware issues like overheating or restore a noisy fan. Here, we present a thorough walkthrough for anyone interested in keeping their console in top shape.
Tools Needed for Disassembly
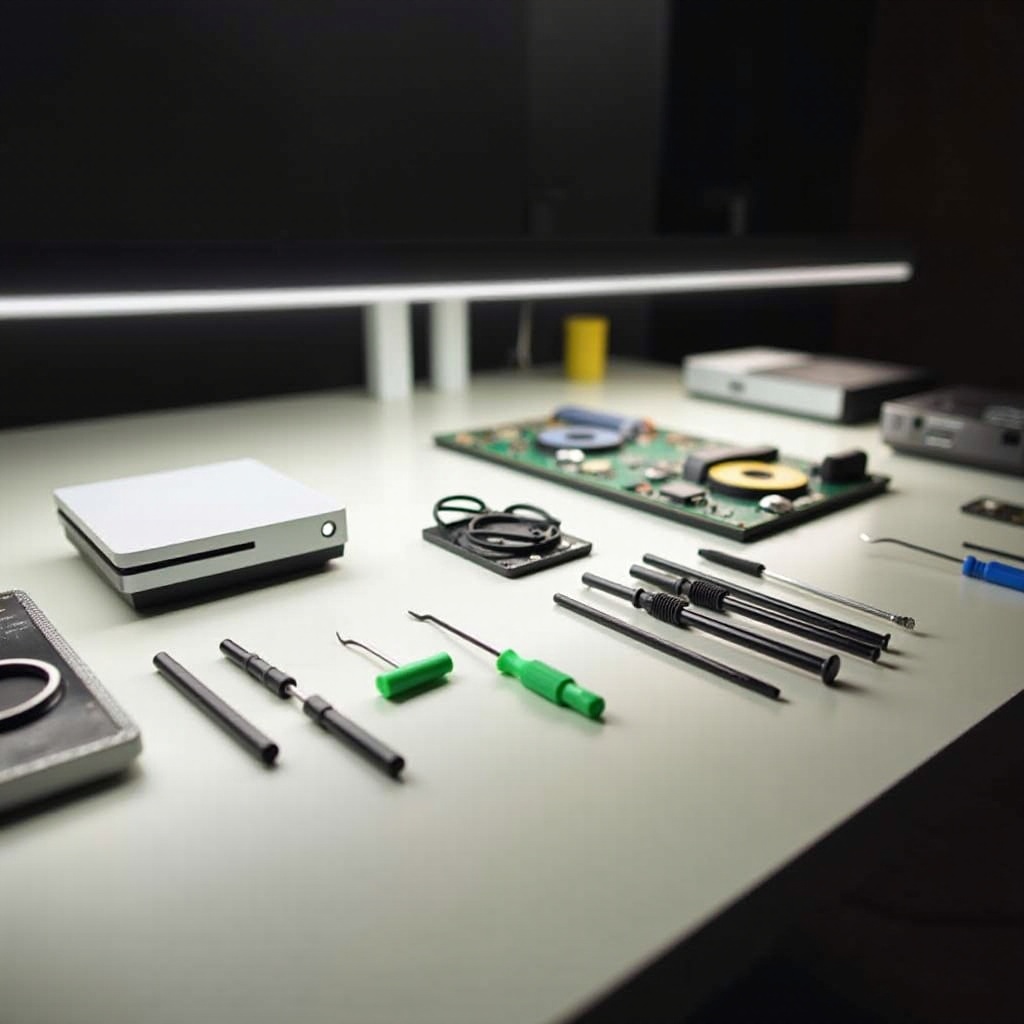
Before you start, gather the right tools. Having the necessary equipment on hand simplifies each step and prevents unnecessary interruptions.
- Phillips head screwdriver
- Torx T8 and T10 screwdrivers
- Plastic opening tool or spudger
- Anti-static wristband
- Small bowls or trays for screws management
These tools, essential for a smooth disassembly, lay the foundation for tackling the task effectively.
Safety Precautions Before Starting
Prioritizing safety is paramount when working with electronic devices. Taking proper precautions protects both you and your Xbox One.
- Disconnect all power sources: Ensure the Xbox One is unplugged.
- Use an anti-static wristband to prevent static damage.
- Prepare a clean, arid workspace free from contaminants.
Completing these preparatory steps mitigates risks, paving the way for a safe and successful disassembly.
Preparing Your Workspace
An organized workspace enhances efficiency and helps avoid mishaps. Set up your area thoughtfully for an effective operation.
- Ensure bright lighting to help with visibility.
- Keep your tools and materials within easy reach.
- Cover your work surface with a soft mat to prevent handset damage.
A well-prepared workspace allows you to focus entirely on disassembling your Xbox One safely and methodically.
Step-by-Step Guide to Disassembling Your Xbox One
With everything prepared, you’re ready to begin disassembly. Follow these instructions carefully to prevent mishandling.
- Removing the Outer Shell
- Gently insert the plastic opening tool into the console’s seams to pry open the side panels.
-
Unscrew the visible Torx screws, then lift off the top shell carefully.
-
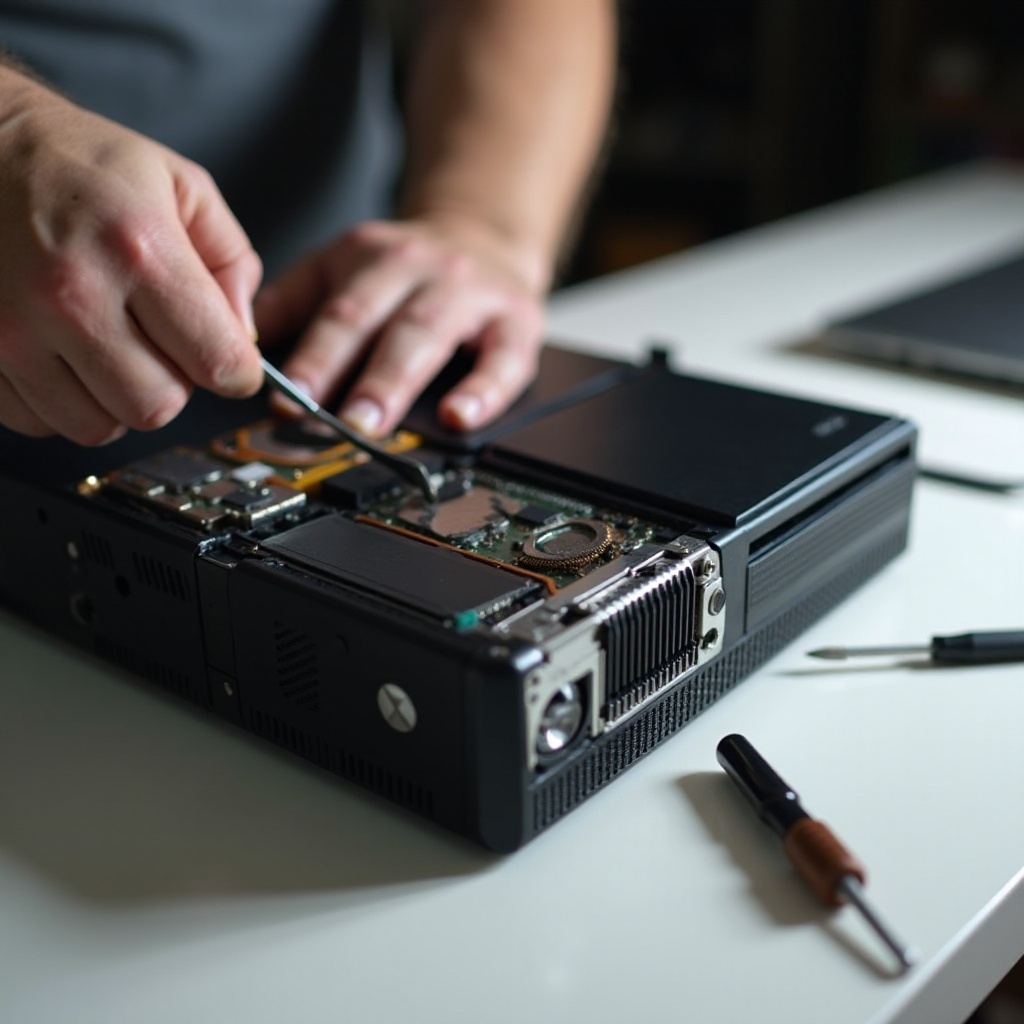
Detaching Internal Components
- Locate and unscrew the internal metal casing using your Torx screwdriver.
-
Carefully detach the Wi-Fi card and optical drive from their positions.
-
Handling the Hard Drive and Power Supply
- Unscrew the hard drive bracket, then extract the hard drive from its mount.
- Disconnect the power unit, unscrew it, and carefully remove it from the console.
Disassembling these components exposes the Xbox’s inner workings, allowing for deep cleaning and maintenance.
Cleaning and Maintenance of Internal Parts
With the console open, take this opportunity to clean and maintain internal parts. Addressing cleanliness is vital in avoiding future issues.
- Use compressed air to clear dust from fans and small crevices.
- Gently brush delicate areas like the motherboard.
- Inspect connection integrity and ensure they are firm.
Regular deep cleaning promotes longevity and enhances the overall performance of your Xbox One.
Reassembling the Xbox One
Now, it’s time to put the Xbox One back together. Reassembly should be done with the same care as disassembly.
- Begin by positioning the power supply and reconnect all cables properly.
- Secure the hard drive back into place, aligning it correctly.
- Replace the internal casing and attached components like the optical drive
- Ensuring the outer shell clicks into place, secure with screws.
Correct reassembly ensures your Xbox One returns to an operational state without loose parts posing potential dangers.
Troubleshooting Common Issues After Reassembly
Upon reassembly, ensure that the console operates smoothly. Here are steps to troubleshoot typical issues:
- Double-check each connection if the console won’t power on.
- Verify that all cables are securely attached to the power supply.
- For persistent noise, inspect for undetected loose components.
These checks can quickly resolve most issues, getting you back to gaming with minimal downtime.
Conclusion
Taking apart your Xbox One involves patience and precision, but is a rewarding process that empowers you to maintain your console efficiently. By following this guide, you ensure your console not only functions optimally but also enjoys an extended lifespan. Quality maintenance plays a critical role in enhancing your gaming setup.
Frequently Asked Questions
What should I do if my Xbox One doesn’t turn on after reassembly?
Check all internal connections and ensure the power source is working. If the issue persists, seek professional repair services.
How often should I clean my Xbox One to maintain performance?
Clean your Xbox every three to six months, depending on usage and environmental factors like dust.
Is there any risk in taking apart my Xbox One if it’s still under warranty?
Disassembling your Xbox will likely void your warranty. It’s advisable to contact Microsoft support for repairs if your console is still under warranty.