Introduction
Accidents happen. One moment you are working diligently, and the next, you knock over your glass of water. It’s a heart-stopping moment seeing your laptop drenched. Knowing the right steps to take immediately after a spill can make a difference between a minor inconvenience and a costly disaster. Here’s a comprehensive guide on what to do if water spills on your laptop, ensuring you minimize damage and swiftly return to your work.

Immediate Actions to Take
The moment water makes contact with your laptop, you must act quickly to mitigate any potential damage. These initial steps are crucial:
- Turn off your laptop immediately. Press and hold the power button until it shuts down.
- Unplug the power source and remove any cables or connected devices to obstruct further electrical damage.
- Remove the battery if you can. For most models, this involves a simple switch and slide motion.
Time is of the essence here. By acting swiftly, you minimize the risk of water causing short circuits within the laptop.
Disconnect the Power Supply
The first crucial step is disconnecting the power supply. This process stops any electrical current that could worsen the water damage. Here’s how:
- Unplug the power adapter from the socket and the laptop.
- Detach the battery if possible. Check the laptop manual if you are unsure about how to do this. Even a little remaining charge can be harmful when water is present.
- Ensure no other devices such as USB drives or headphones are still connected to the laptop.
These steps prevent further electrical transmission, reducing the chance of severe internal damage. After disconnecting the power, the next task is to eliminate any lingering sources of power by removing external devices and accessories.
Remove External Devices and Accessories
Once the power supply is disconnected, it’s time to remove all external devices and accessories. This includes:
- USB drives, external hard drives, and SD cards.
- Wireless mouse and keyboard dongles.
- Headphones and speakers.
- Any other peripherals plugged into the laptop.
Removing these devices not only protects them but also prevents any additional pathways for electrical currents that could lead to short circuits. After ensuring all accessories and external devices are removed, the next critical step is to drain any accumulated water.
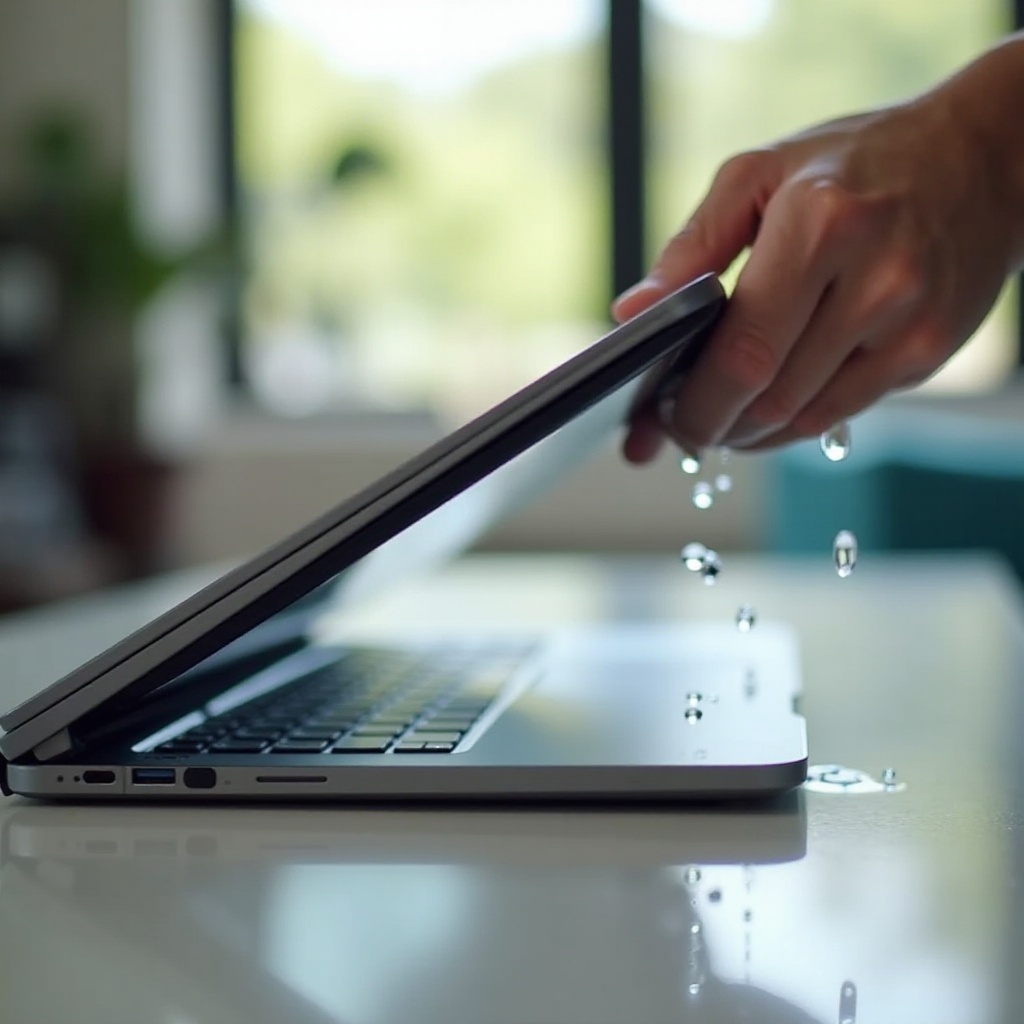
Turn the Laptop Upside Down and Drain
After all peripherals have been removed, turning your laptop upside down is vital:
- Position the laptop in an inverted V shape or tent position. This makes sure as much water as possible drains out.
- Be patient and let your laptop drain for at least 15-20 minutes. Some models allow you to remove individual parts, which can help speed up the drying process.
- Gently shake the laptop to encourage any hidden water to escape, but do so carefully to avoid any components from being dislodged or damaged.
Well-drained components will be less likely to retain water, therefore minimizing the risk of electrical shorts. To ensure maximum dryness, it is important to use safe drying techniques.
Safe Drying Techniques
While the urge to take drastic measures to dry your laptop quickly may be strong, it’s important to stay composed and use safe drying techniques.
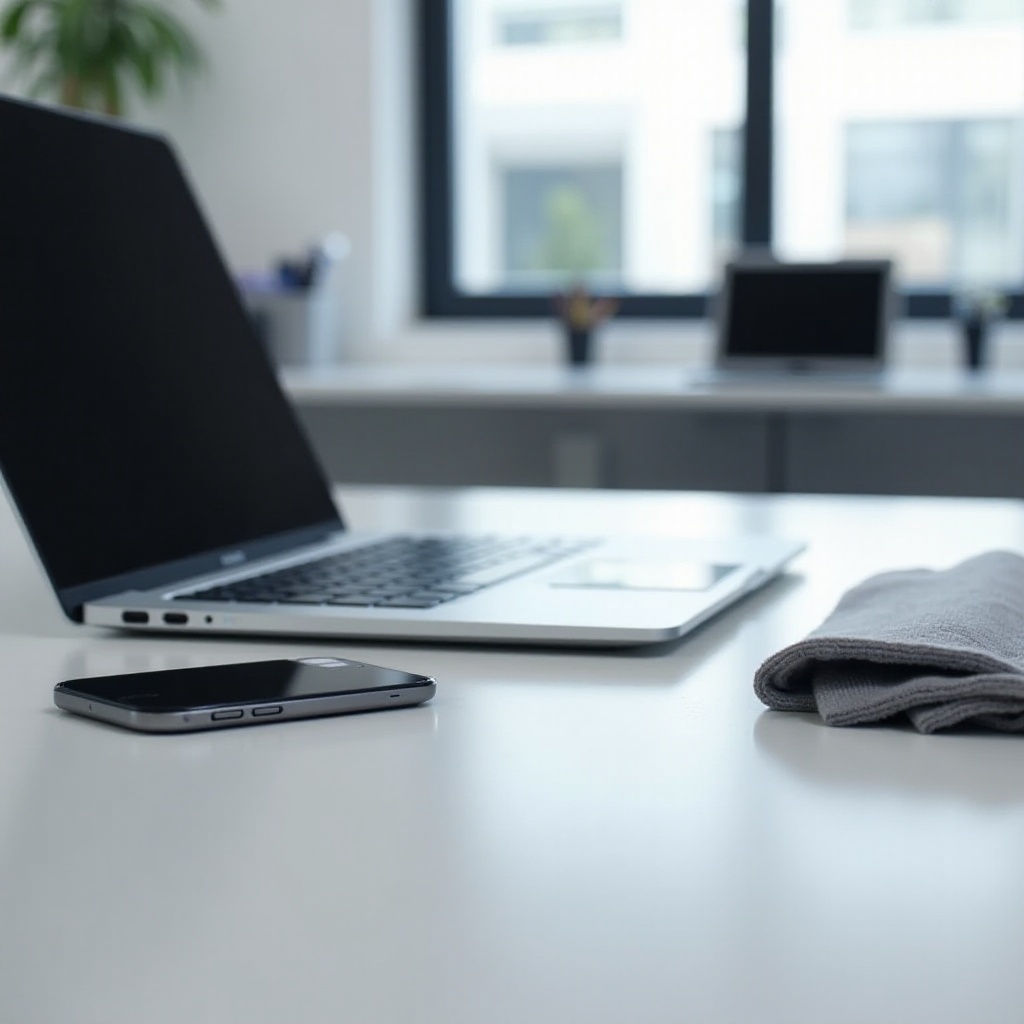
Using a Microfiber Cloth
A microfiber cloth is ideal for absorbing water from your laptop’s surfaces:
- Use gentle, patting motions rather than rubbing to avoid spreading the moisture around.
- Focus on external surfaces first, including the keyboard and areas around the hinges.
- Check for visible moisture and continue drying those areas until the cloth remains dry.
The Rice or Silica Gel Method
For deep drying, commonly used household items can be your saviors:
- Place your laptop in a large container filled with uncooked rice or silica gel packets.
- Ensure the device is completely covered, and leave it there for at least 48 hours. This duration allows the materials to absorb moisture from inside the laptop.
- Keep the container sealed to create an effective moisture-absorbing environment.
These methods leverage the natural hygroscopic properties of rice and silica gel to pull moisture away from your laptop interior. Once your laptop has been dried thoroughly, it is important to inspect it for any potential damage.
Inspecting the Damage
Once you’ve followed the drying techniques, it’s time to inspect your laptop for damage:
- Visually check for residue or corrosion on visible parts, especially connectors and ports.
- Carefully observe the battery area and consider replacing the battery if any rust or discoloration is detected.
- Reattach the battery and power up the laptop in a dry, safe environment.
Should your laptop fail to boot, or if you notice anything unusual, it’s best to refrain from further attempts to power it and move on to the next step. Seeking professional help is critical in such scenarios.
Professional Help and Repair
If your laptop shows signs of internal damage or fails to operate correctly, seeking professional assistance is crucial:
- Contact a professional repair service that specializes in water damage.
- Describe the incident in detail, specifying which liquids were involved.
- Provide the technician with relevant accessories, such as the power adapter and battery.
Obtaining professional help as soon as possible can both save your device and prevent further deterioration. Moving forward, taking preventive measures can avoid future occurrences.
Preventive Steps for the Future
To avoid the stress of water damage in the future, consider these preventive measures:
Using a Waterproof Laptop Case
Invest in a waterproof laptop case for daily use:
- Choose a case that matches your laptop’s dimensions and style.
- Opt for cases with airtight seals for maximum protection against spills.
Setting Up a Designated Safe Workspace
A safe workspace minimizes the risk of accidental spills:
- Choose a consistent, clutter-free area for your laptop use.
- Keep beverages at a safe distance to reduce spill risk.
- Implement cable management solutions to avoid accidentally dragging liquids over your laptop.
These deliberate actions will help safeguard your device against future accidents. Taking these precautions will alleviate the stress associated with such mishaps.
Conclusion
Knowing what to do if water spills on your laptop means acting quickly and efficiently to minimize damage. By following the steps outlined, you can protect your device and data from potentially costly errors. Immediate actions, careful drying, diligent inspections, and seeking professional help when needed will keep your laptop in the best possible condition.
Frequently Asked Questions
Can I use a hairdryer to dry my laptop?
No, you should avoid using a hairdryer. The heat from a hairdryer can damage sensitive components and potentially push water deeper into the laptop.
How long should I leave my laptop to dry before turning it on?
It’s recommended to leave your laptop to dry for at least 48 hours before attempting to turn it on. Using rice or silica gel packets can aid in the drying process.
What are the signs of long-term water damage to a laptop?
Long-term water damage can result in symptoms like erratic operation, battery issues, unexpected shut-offs, or unresponsive keys. Corrosion or rust around connectors and ports are also indicative of prolonged water damage.